My next project begins while I wait for delivery of some tracks for the M4A6.
This time is a Fisher Tank Arsenal built large hatch M4A2 with a 75mm gun produced in 1943 and part of the lend lease program sent to the Soviets. I'm combining the Tasca/Asuka Sherman III kit (British name for the M4A2) along with a Tasca/Asuka M4A3. The plan is to use the M4A3 hull but shortening the rear end and adjusting the angle of the back plate as well as fitting grouser stowage cover plates. The rest of the M4A3 hull is essentially good to go as it includes the wide bullet splash guards for the front periscopes. I'll need to remove a couple of weld seams as the rear sponson was a single piece plate and it used unique padded type lifting rings on the rear.
I can then use the M4A2 hull at a later date by extending it slightly with a steeper rear panel and make a small hatch M4A3. Waste not, want not as they say
I'll need a D50878 turret with thickened cheek armour but without a pistol port. I have one in my stash designed for a Firefly so plan is to modify that by filling in the loaders hatch and radio cut out at the rear to suit. Saves me having to order another turret.
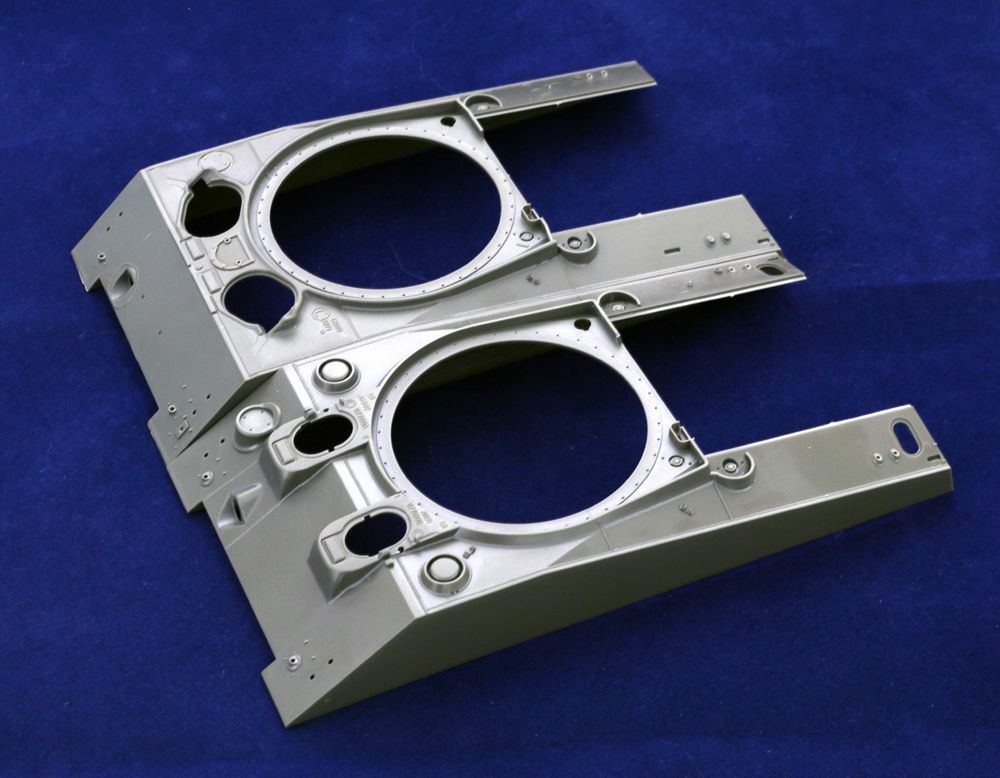
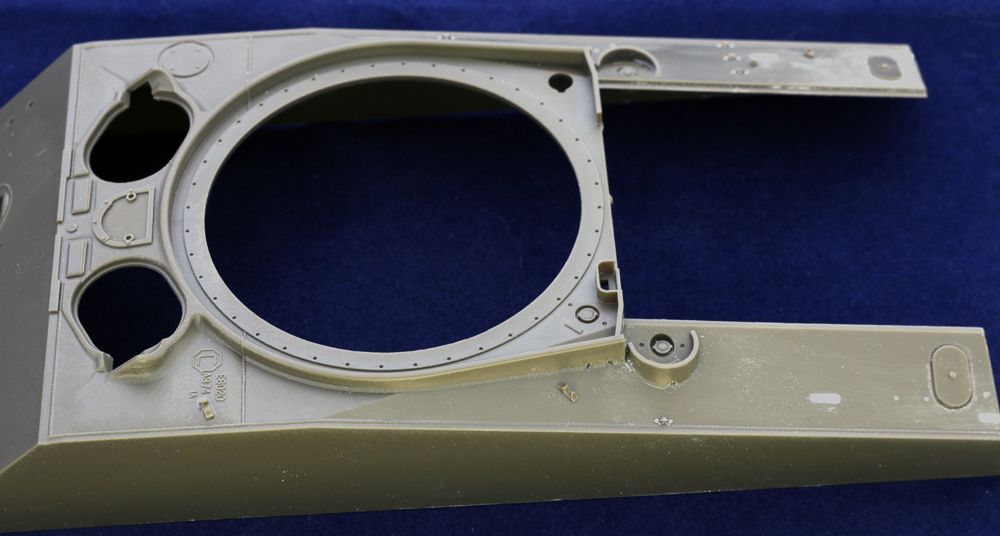
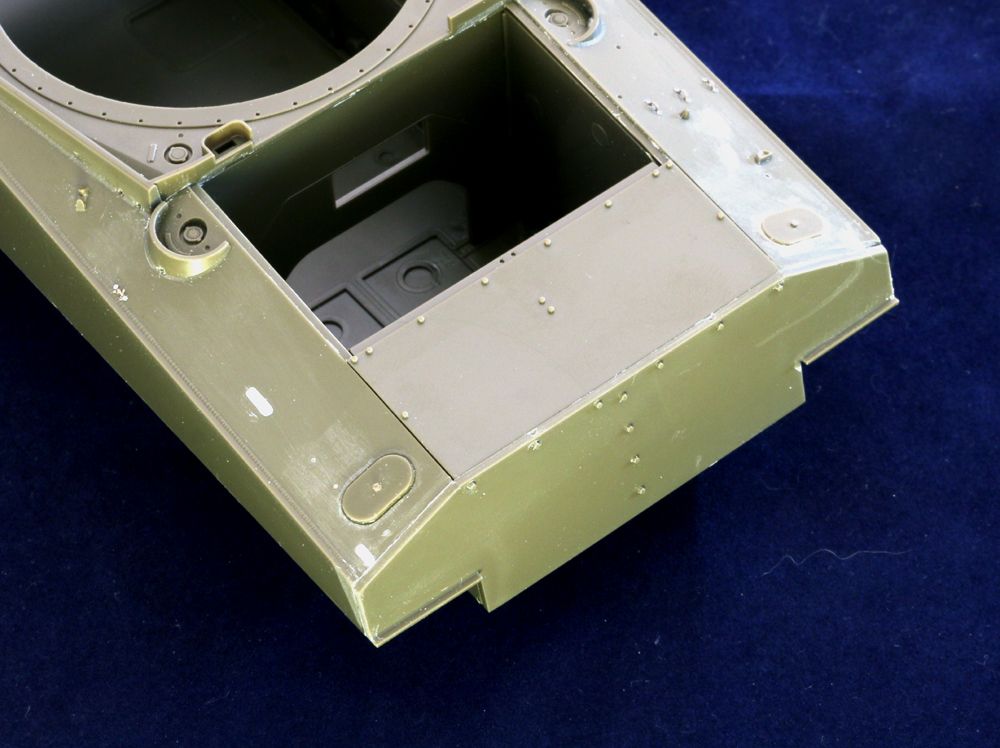
With the hulls clamped together, you can see the difference between the A2 and A3.
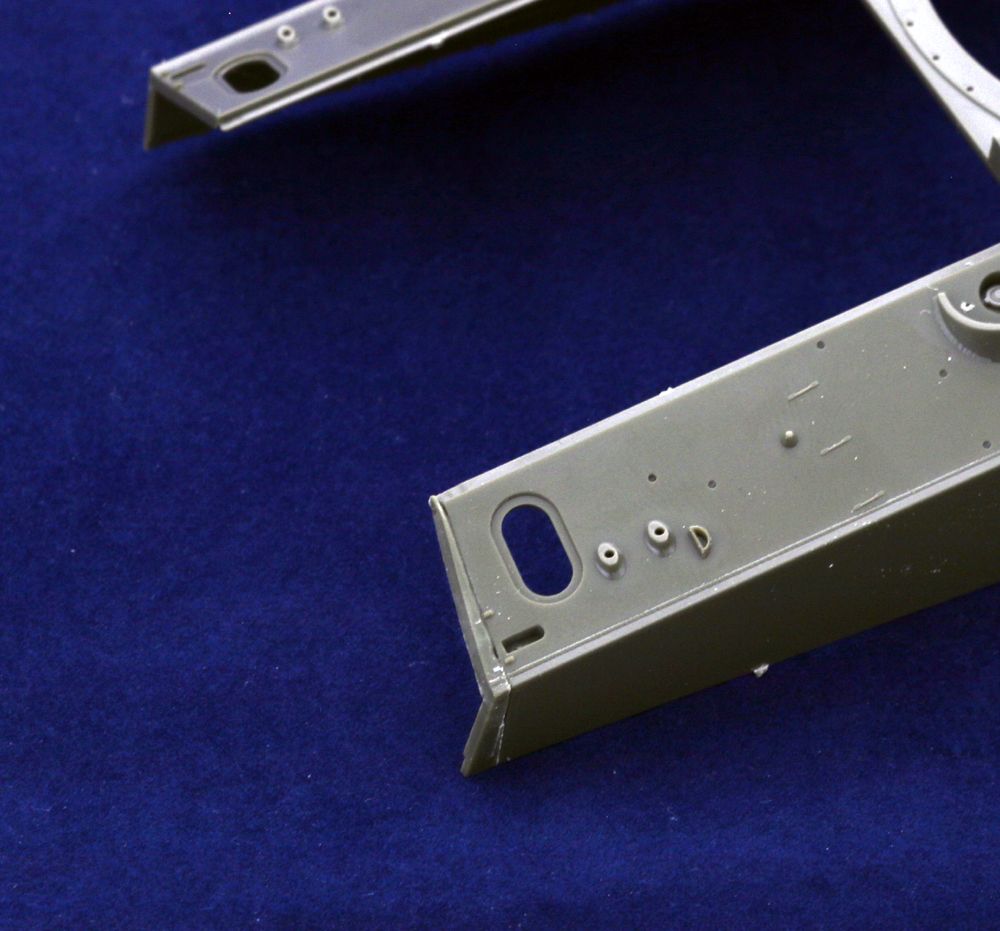
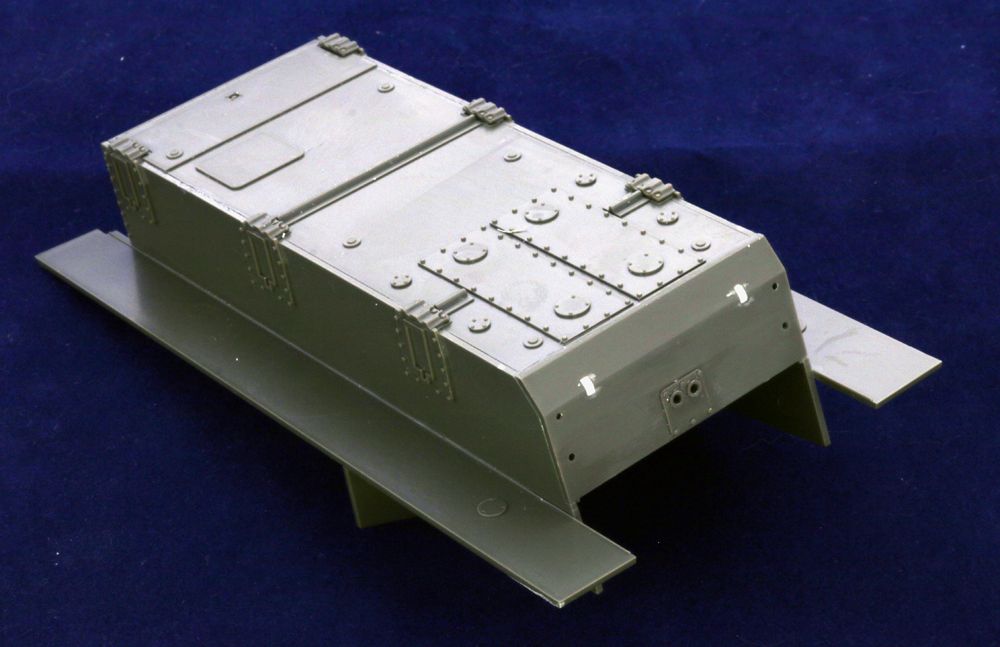
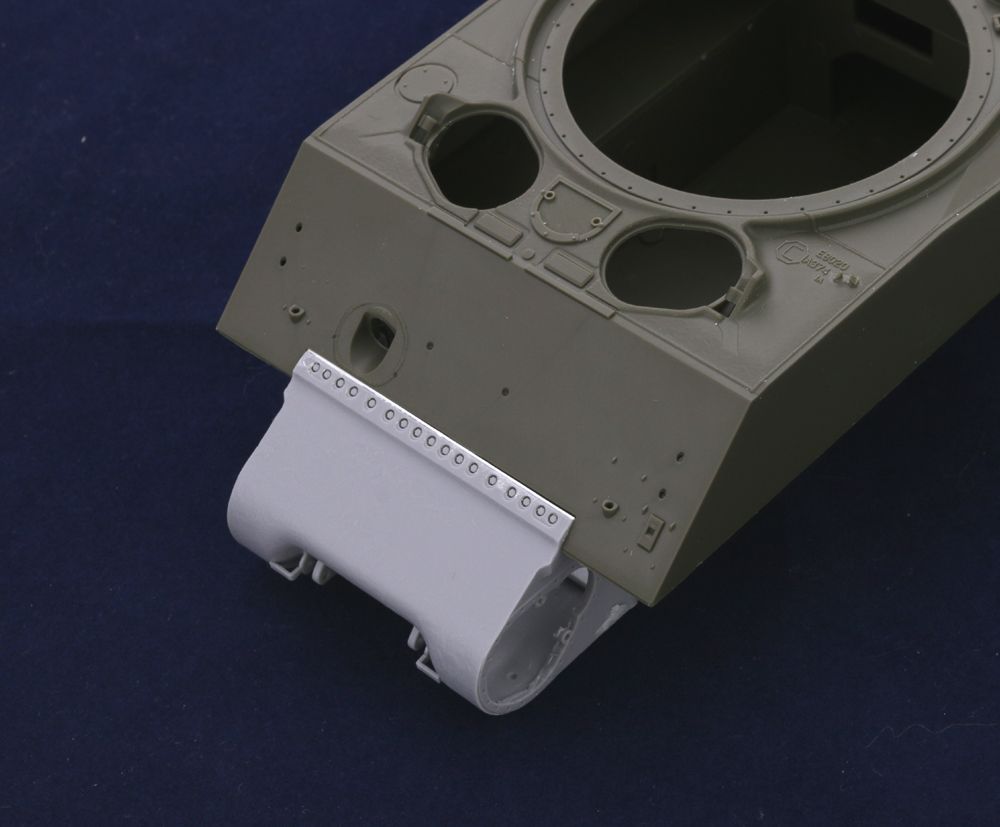
I score a line on the A3 hull using the A2 as a guide, extending the line along the top plate to the corner....
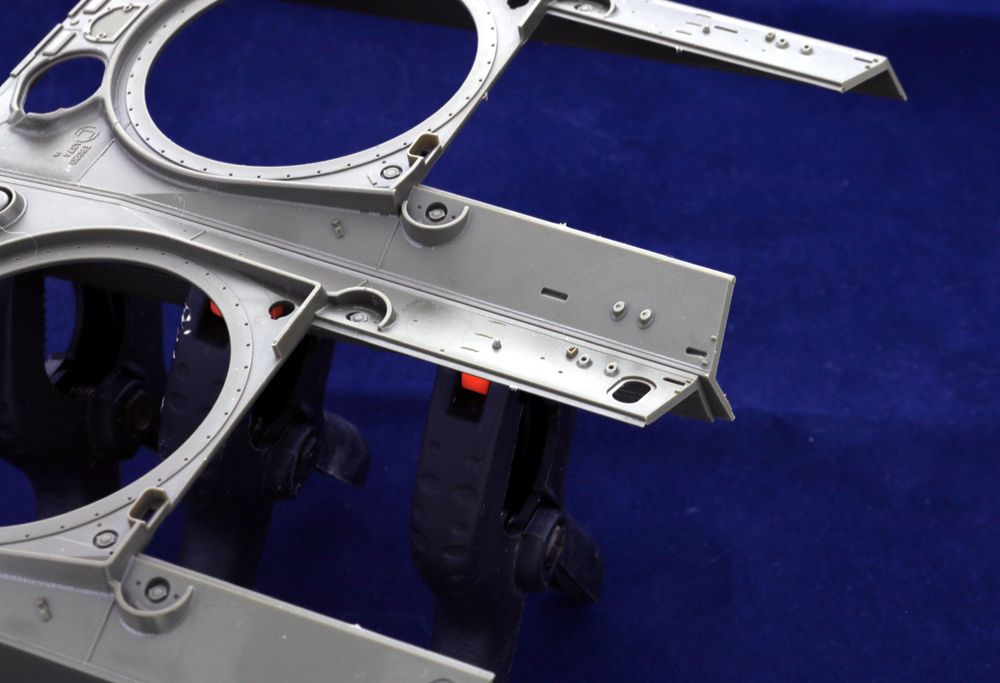
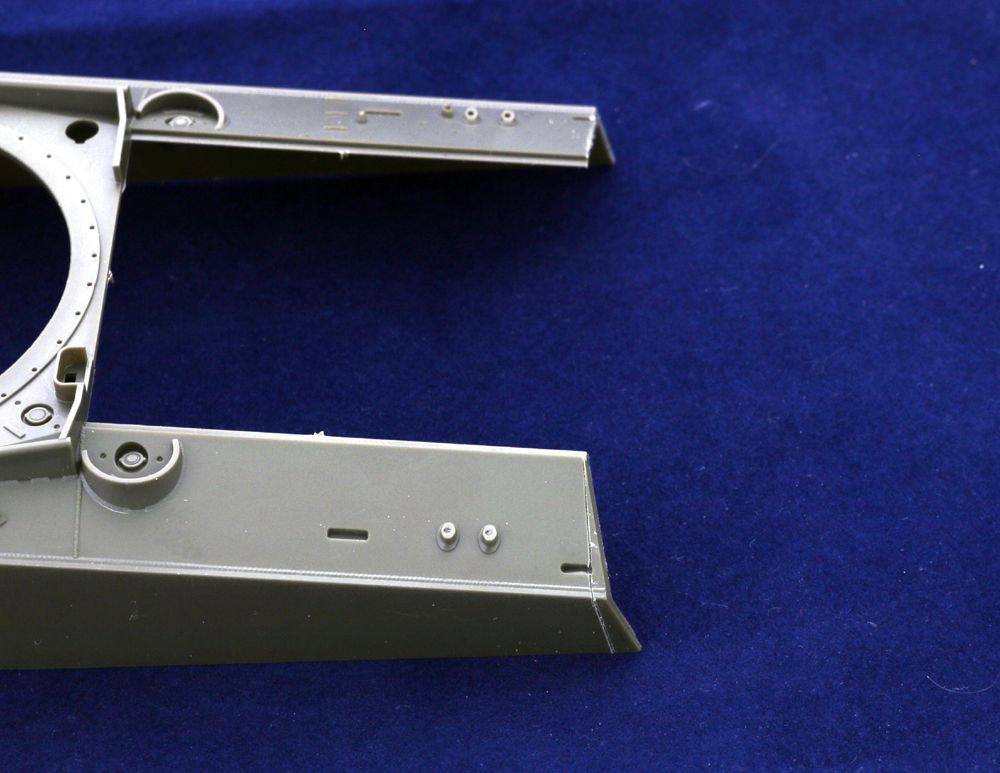
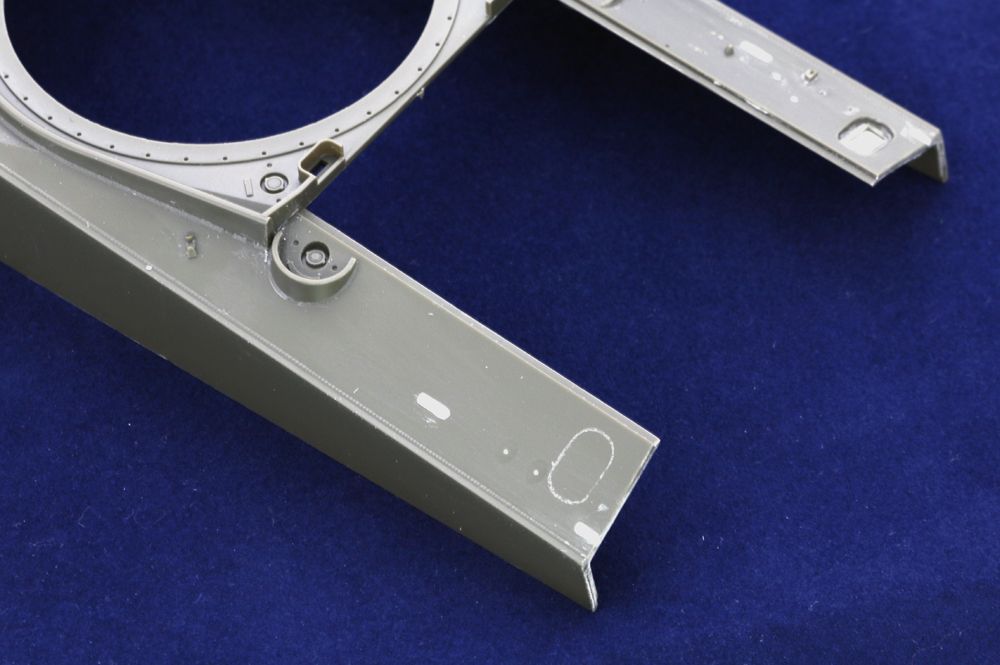
A sharp blade is then used to make the cut. Note that the other side has already been cut in the above pic. Below, the removed part is grafted onto the A2 hull in preparation for the future project as mentioned in the first post...
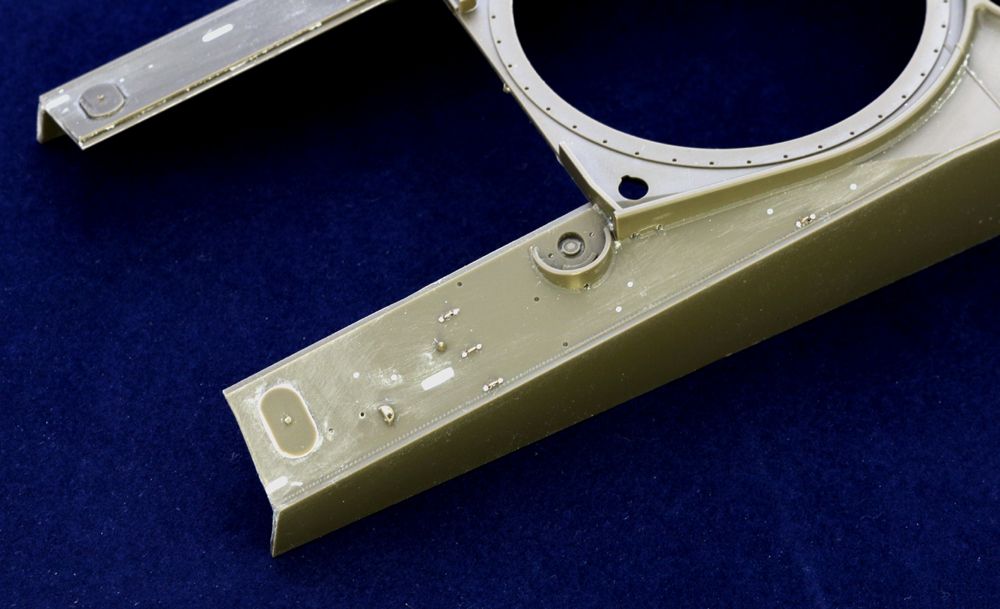
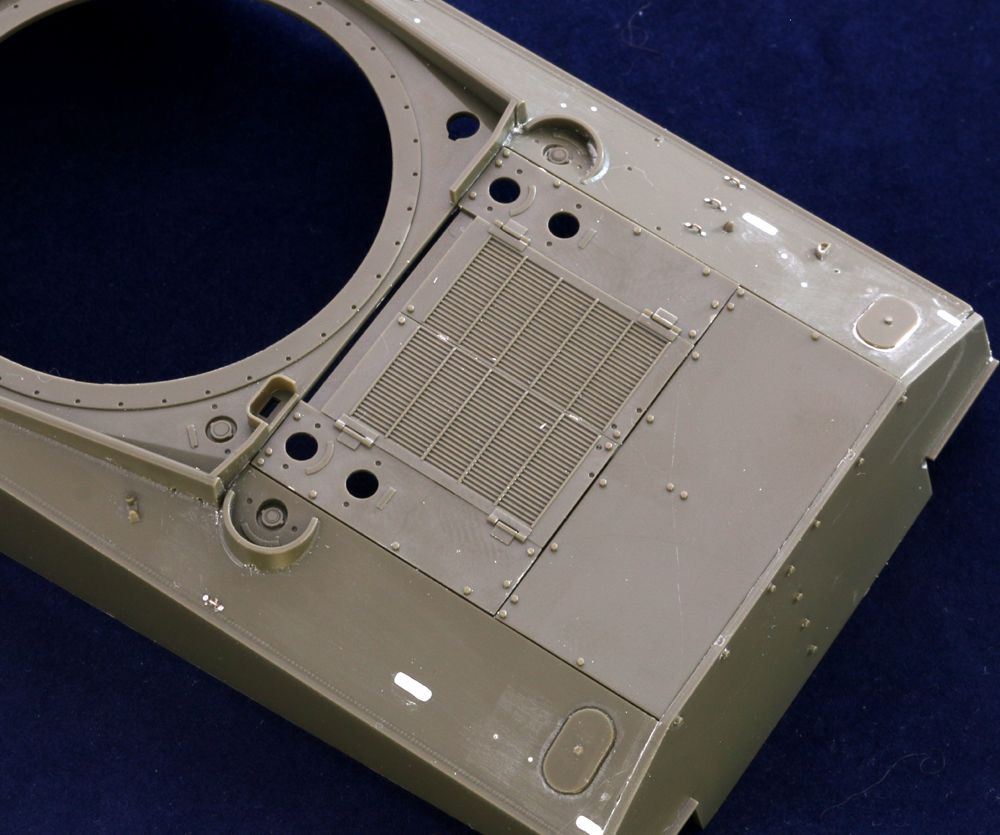
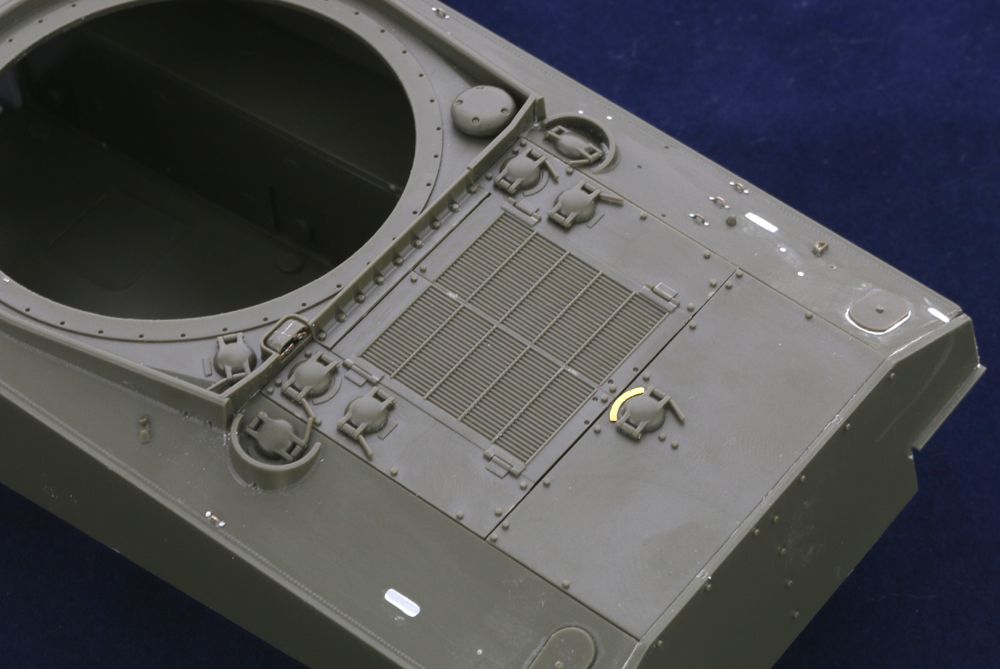
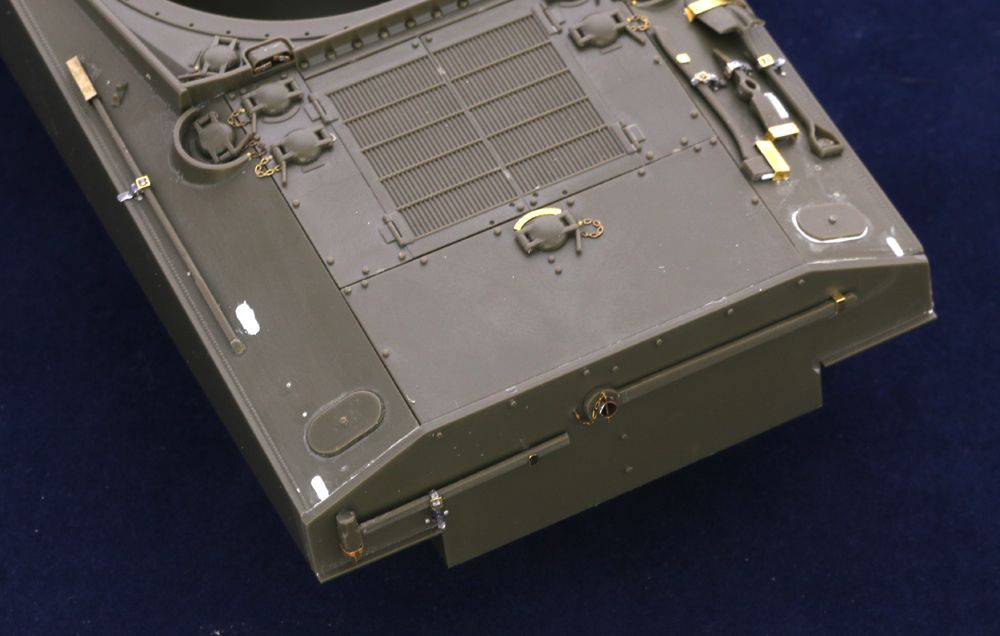
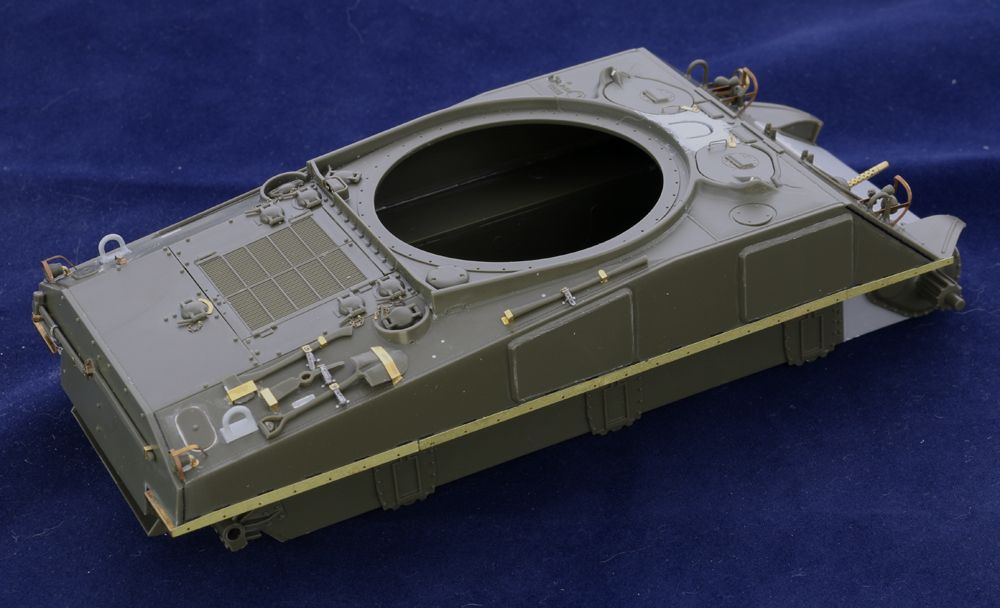
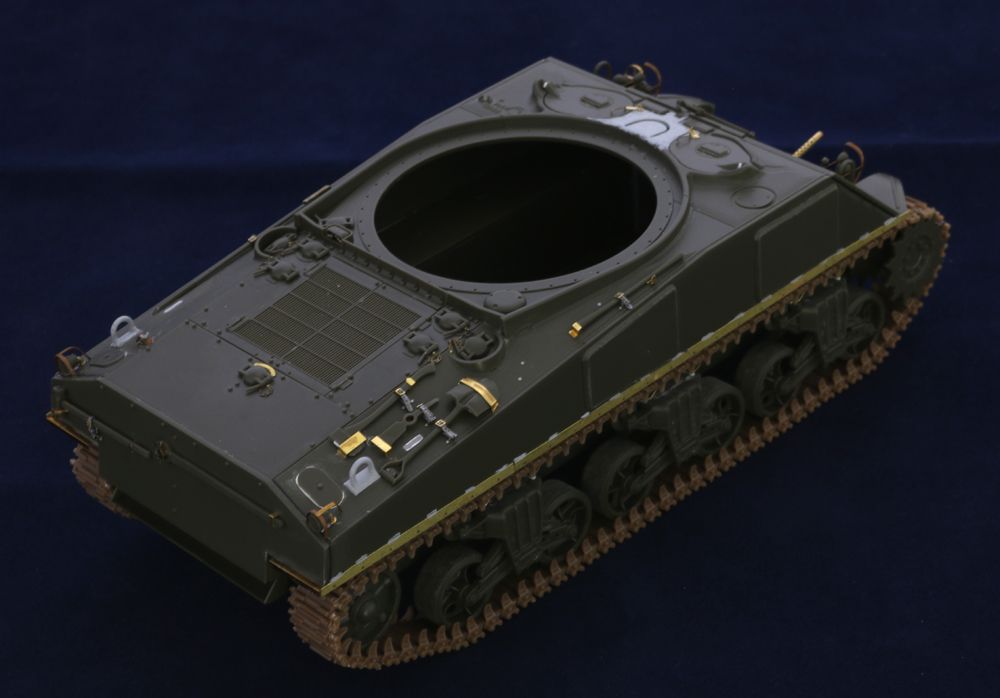
Some more progress. The recesses for the engine access doors have been filled, sponson weld seam removed and work has begun on the grouser stowage holes...
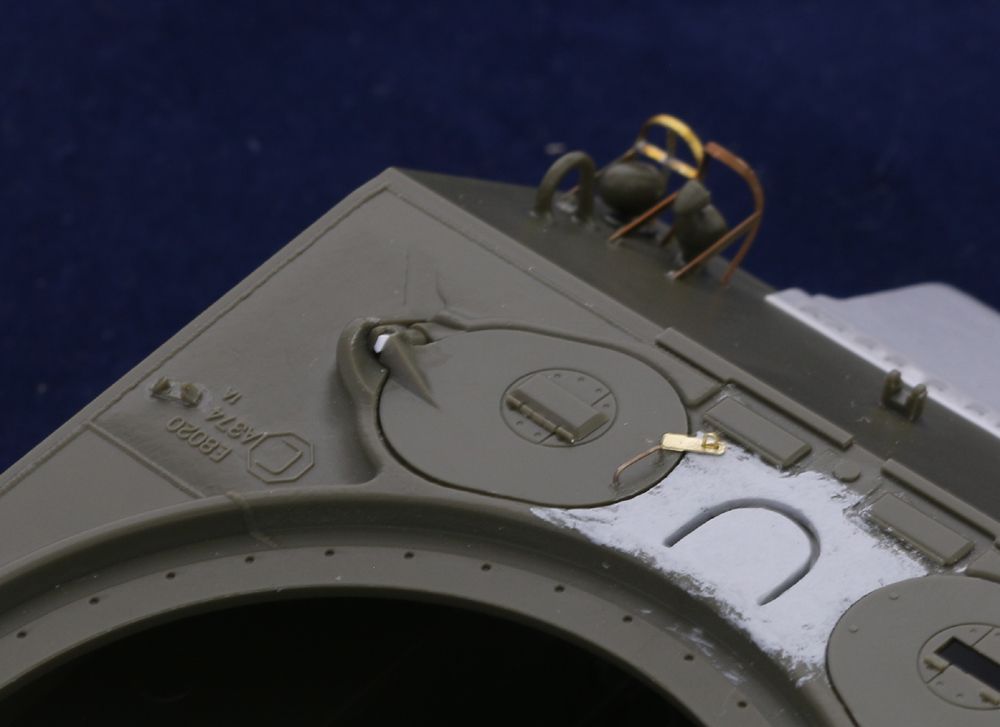
Grouser stowage covers in place. Drain holes in the bullet splashes have been added along with footman loops for the tools. These are made by drilling two small holes in the hull and passing some 5amp fusewire through and securing it underneath with CA gel. The welds either side of the 'legs' are simply lead foil discs punched out with my Mr Nutter tool....
Footman loop is added the other side as tool layout is altered in this version along with an additional tow cable bracket by the driver's hatch...
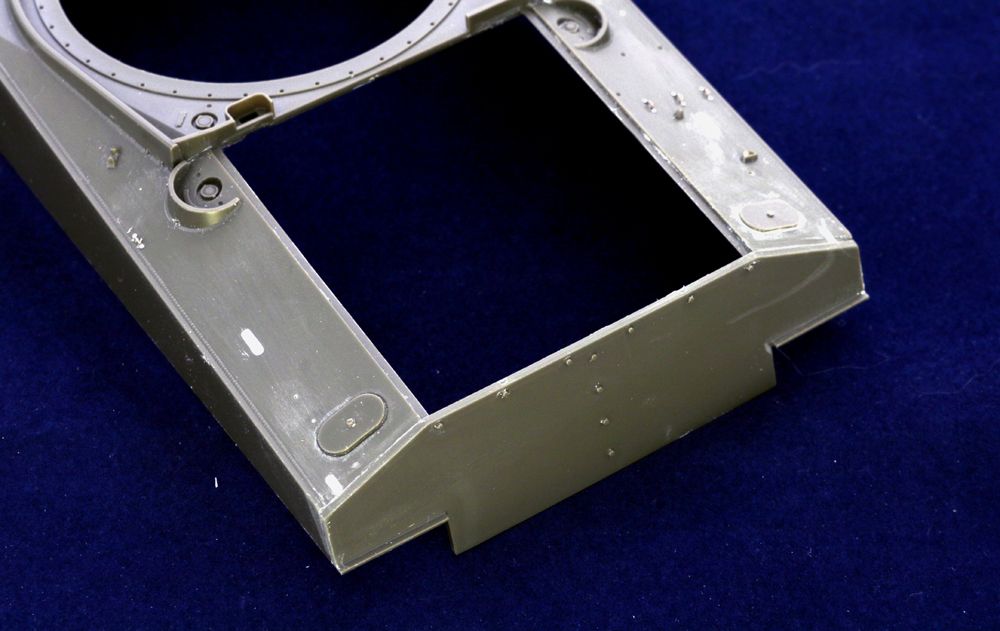
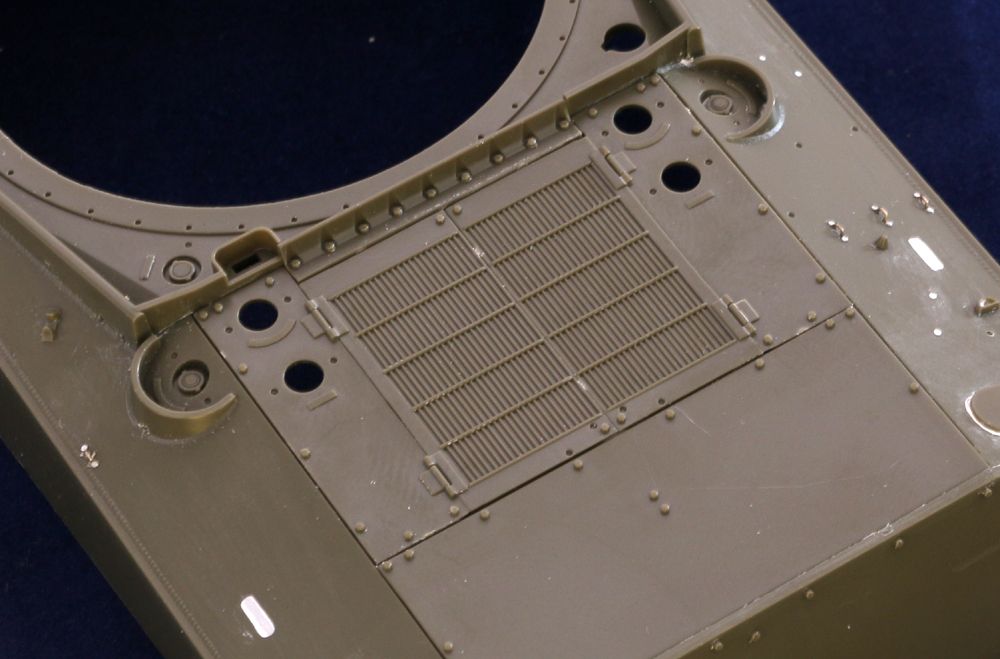
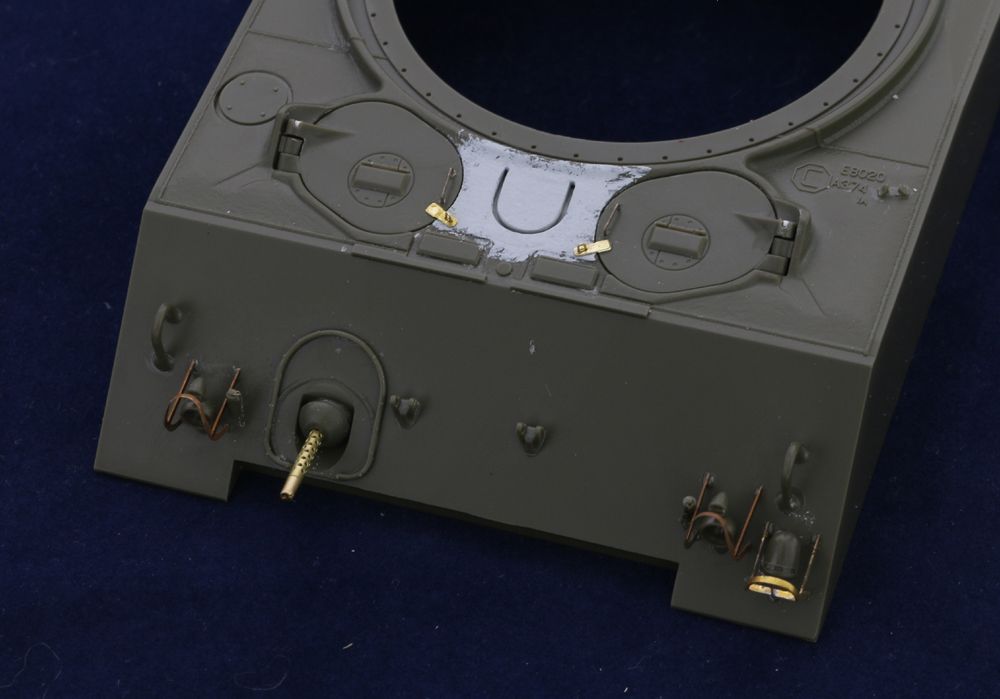
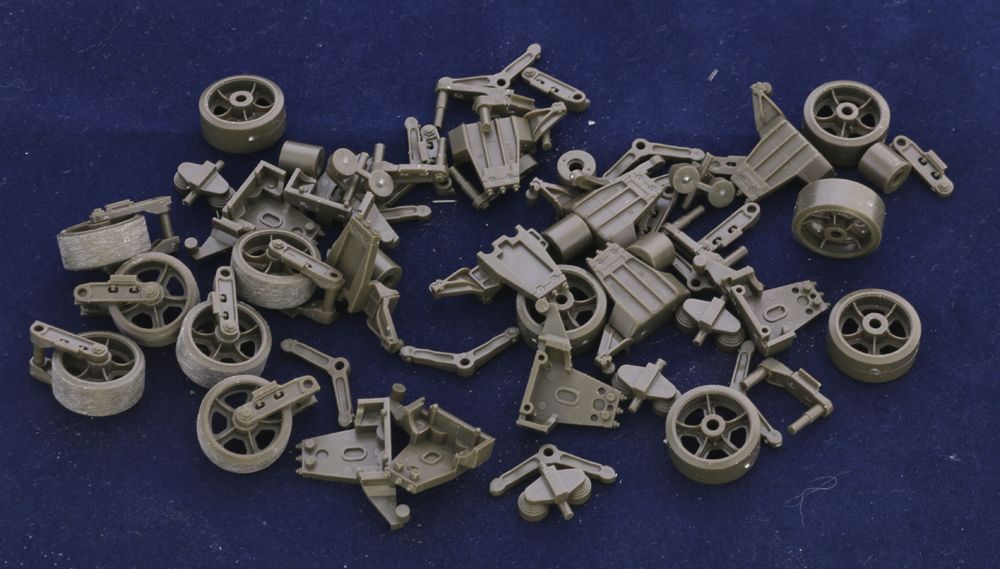
Lower hull is built as per M4A2 kit instructions - note that you need part J13 from the M4A3 kit due to the different FDA cover being used. Also, large hatch vehicles used double towing eyelets so the holes have been filled on the rear plate here for the original single type...
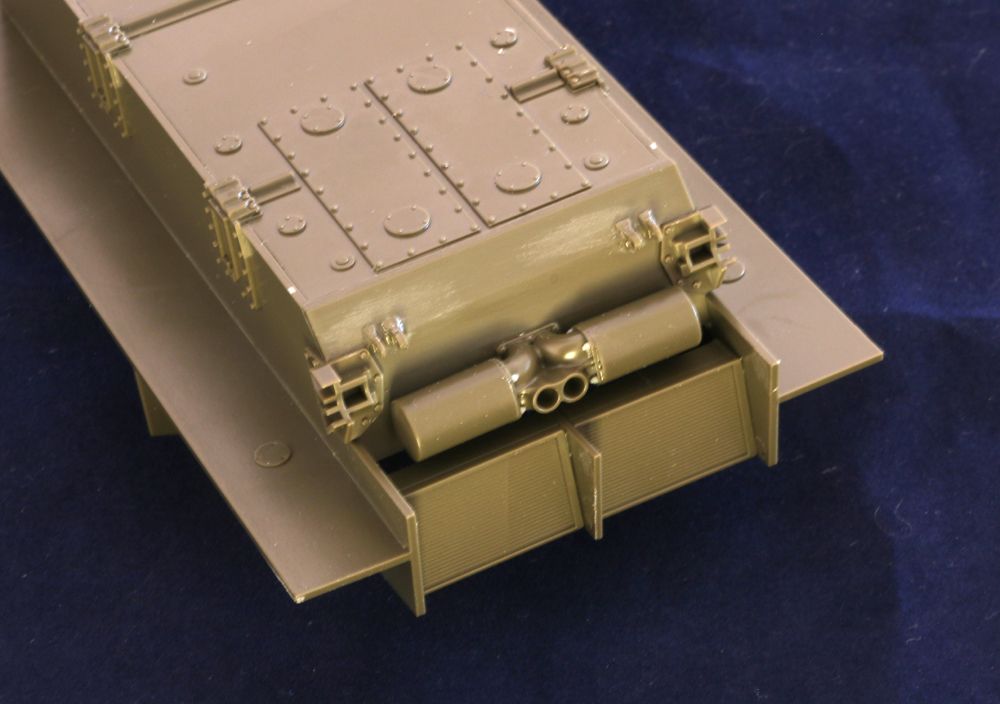
The distinctive engine access doors which easily identifies this as a diesel engine M4A2 fit perfectly....
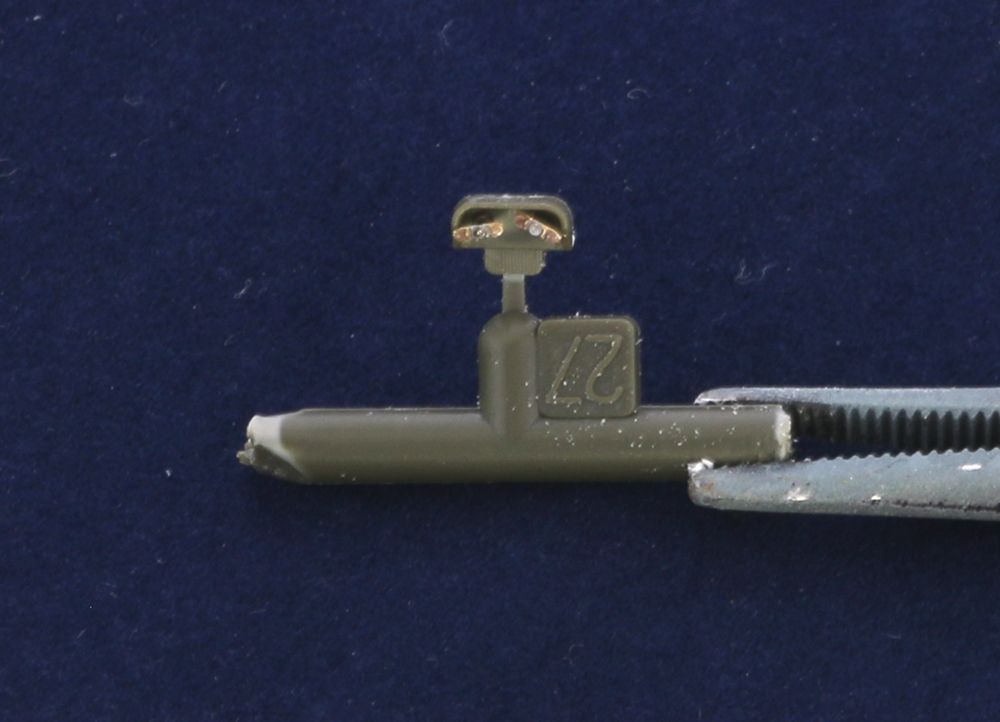
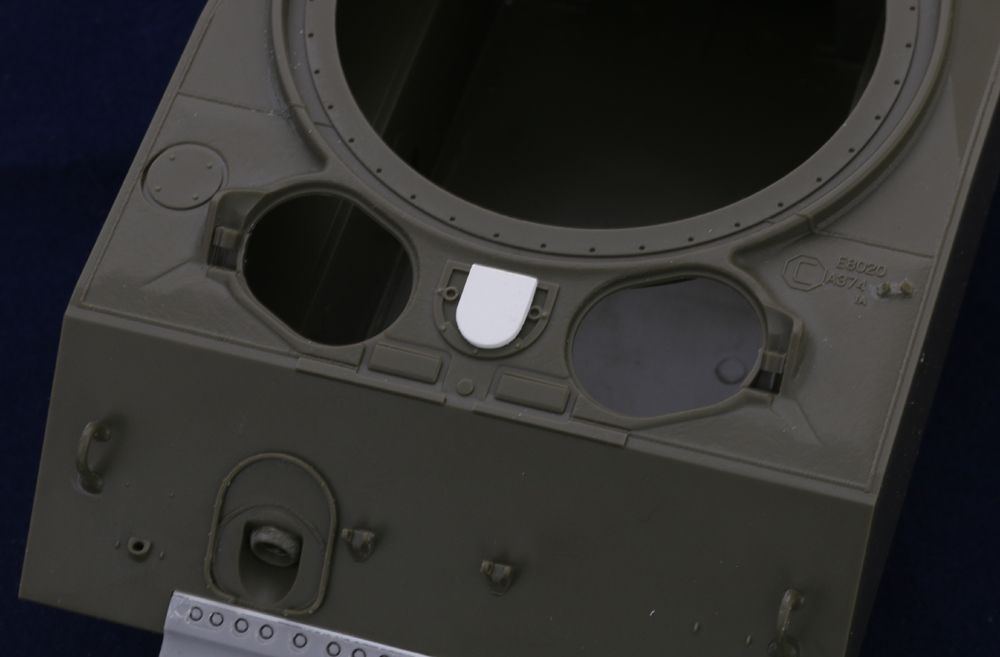
Tasca provide two types of bullet splash for the turret base...
The early type is part 05 with the later being 06. While 06 is required here, it is technically incorrect for this build as it requires 9 bolts rather than the 5 used later in production. Simple fix though - use the bolt heads on the early part to cover the shortfall....
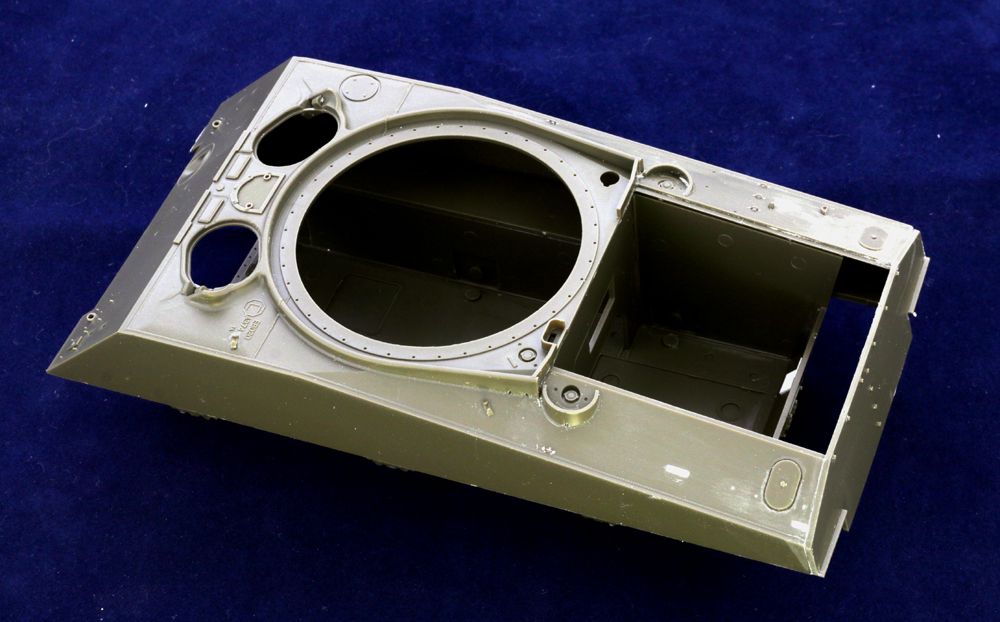
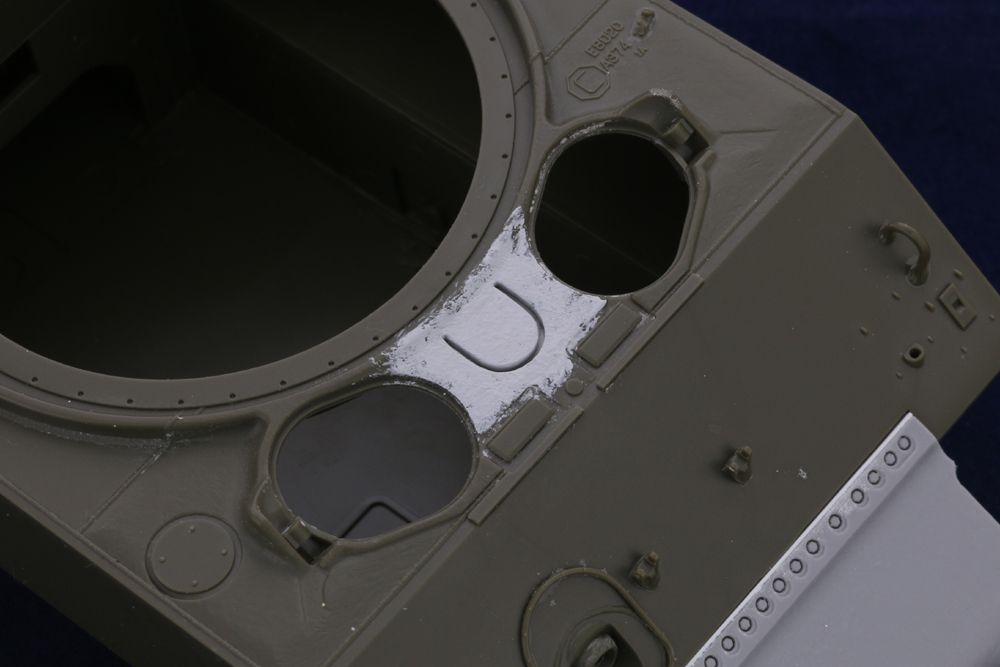
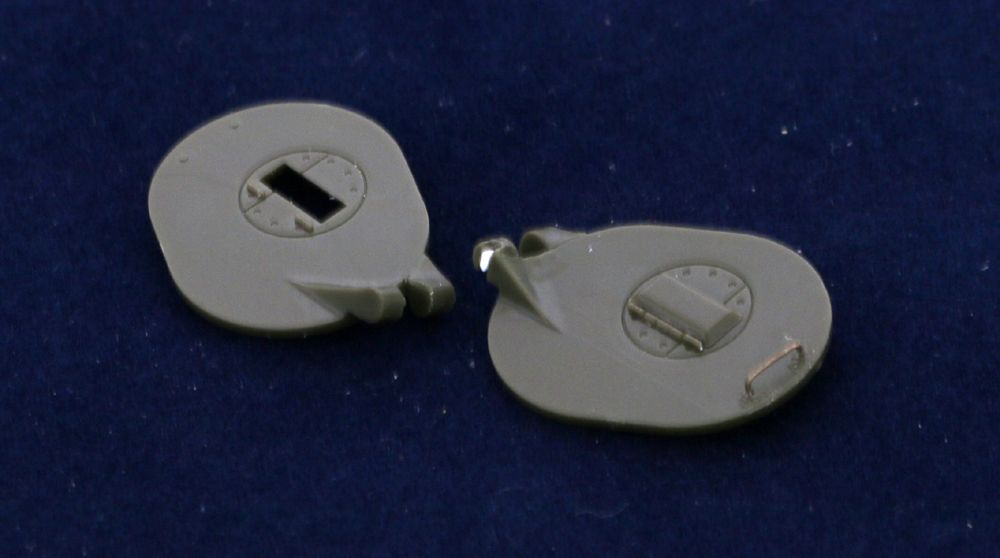
I've changed my mind and I've decided to go with a very early version and leave the vent cover off. I started by making the inner section from styrene to use as a template....
Once the required area was cut out, the section was cemented in place and a piece of styrene was placed underneath and Mr Surfacer was added to give the necessary cast texture...
Your work is fantastic. Can't imagine you going so long without SoS. You must have an unlimited budget cuz I make it 6 Tasca kits on the last 3 projects you've worked on in the past 2 months. I know, I know... you will be recycling some of them but I don't have huevos big enough to chop that many up. Can't wait to see some paint.
Jeff - some parts are from sprues purchased direct from Tasca/Asuka so you don't need an expensive full kit.
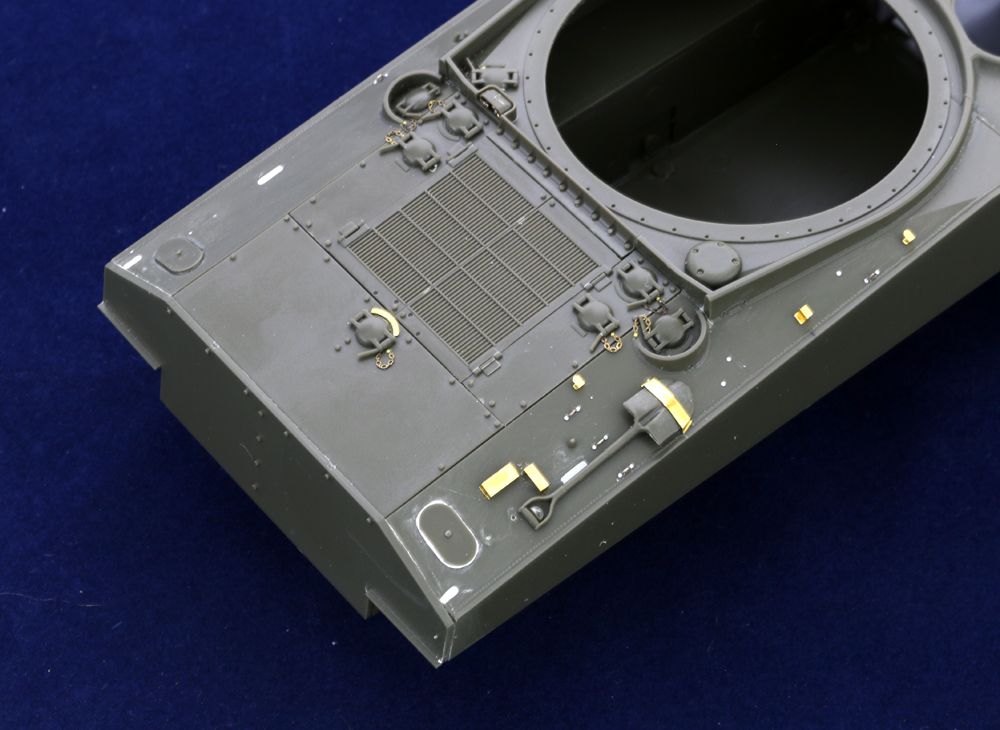
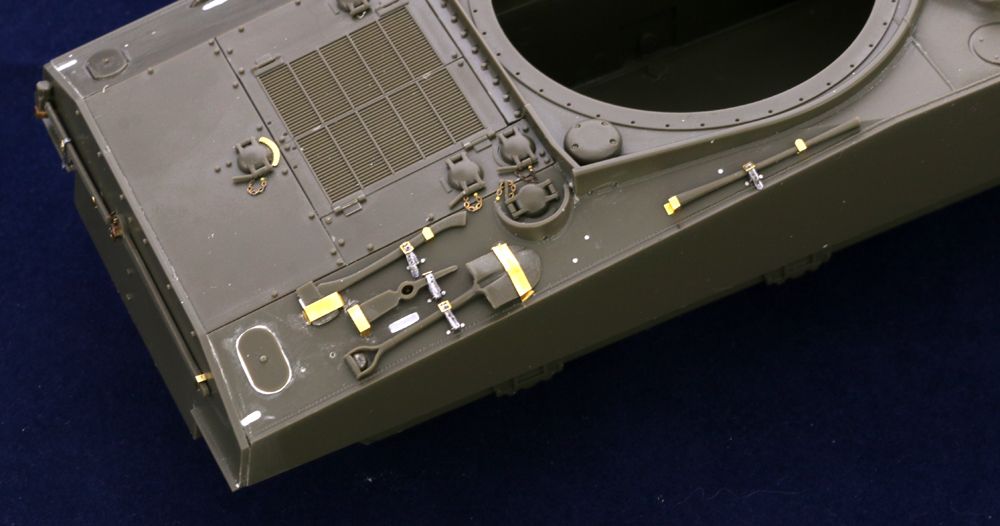
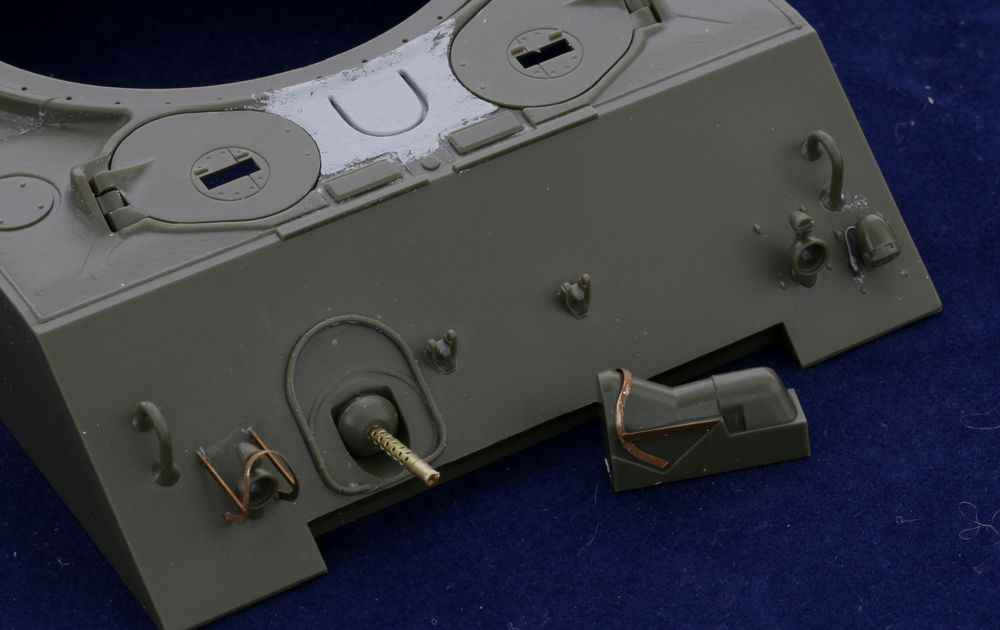
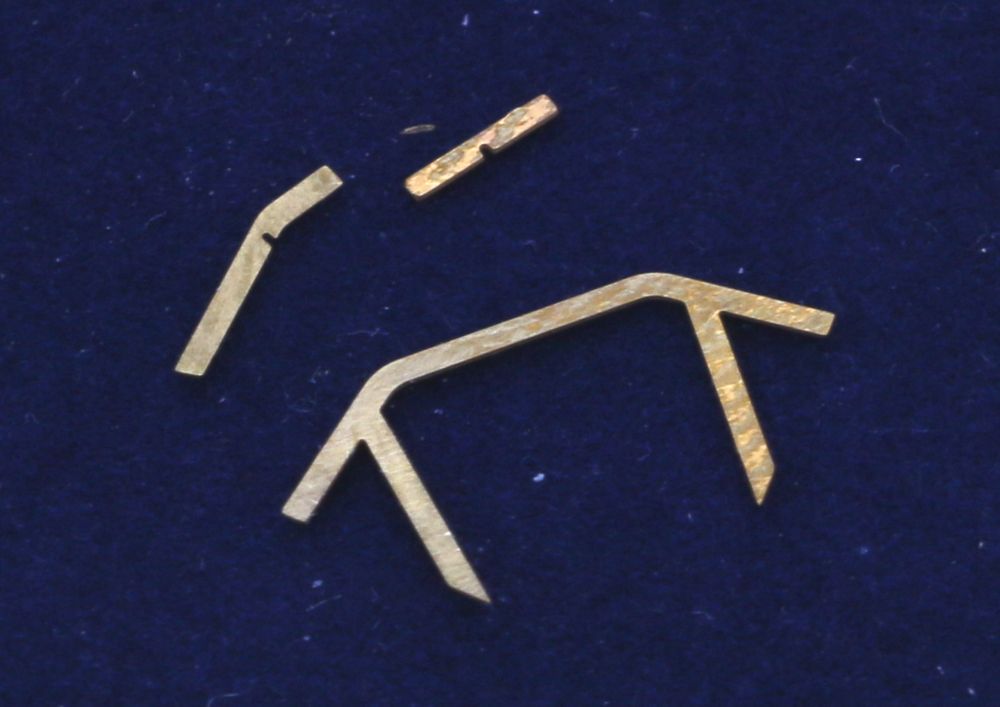
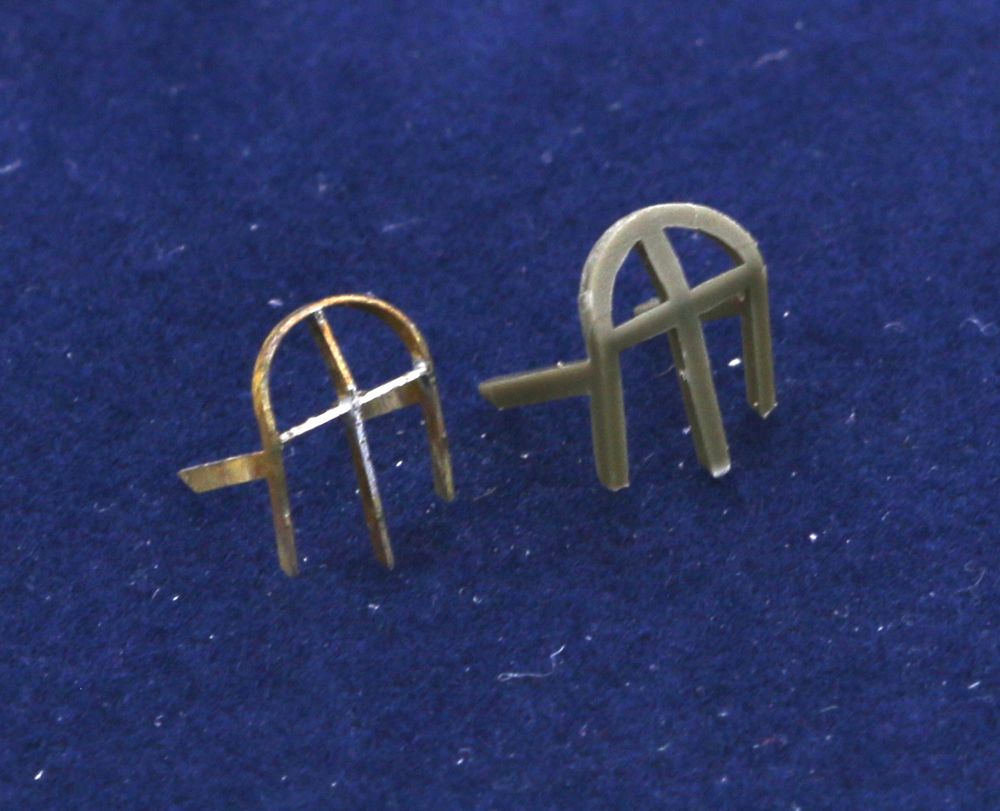
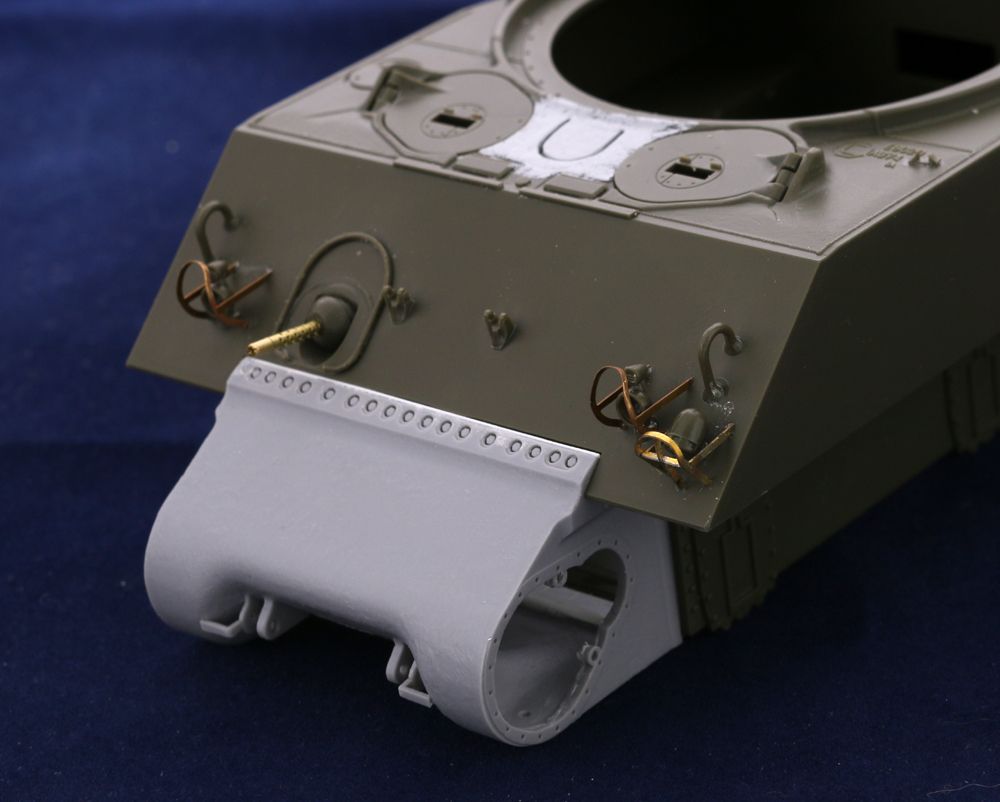
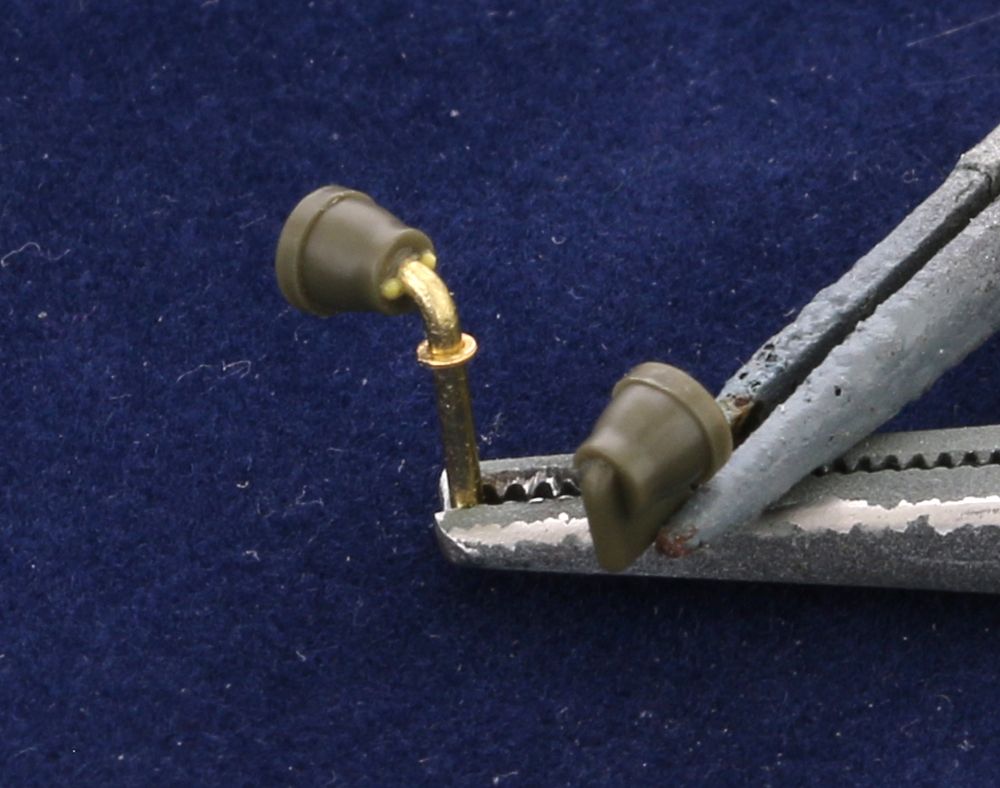
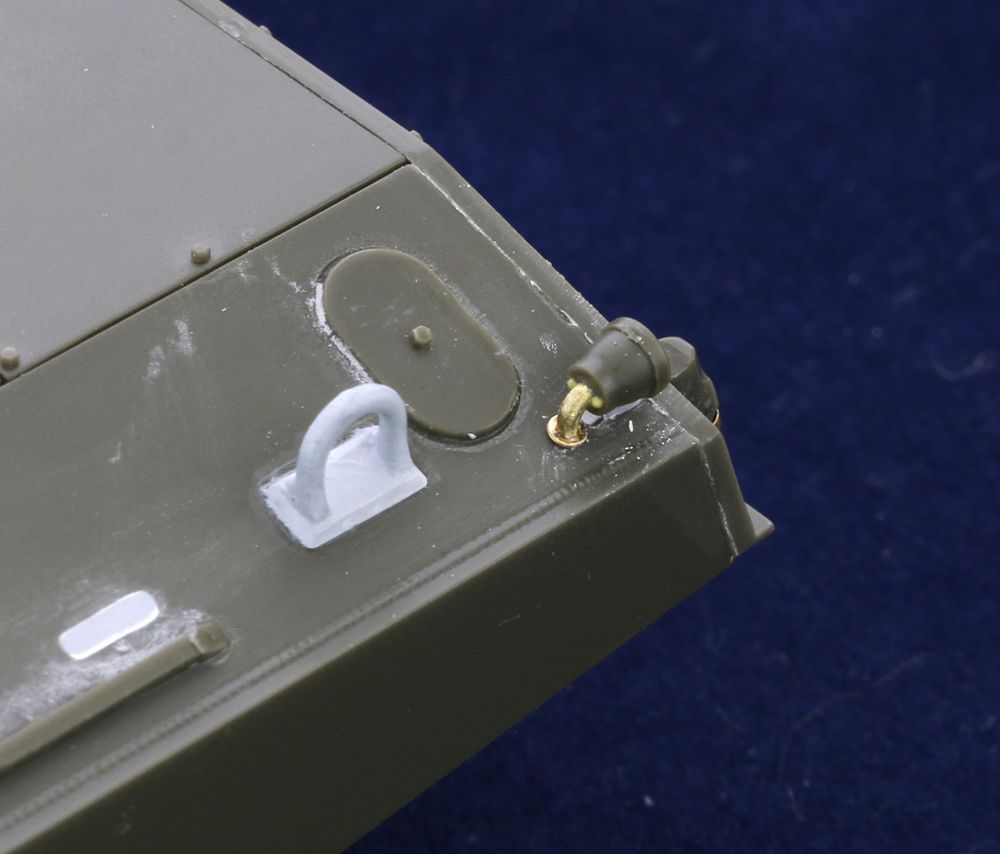
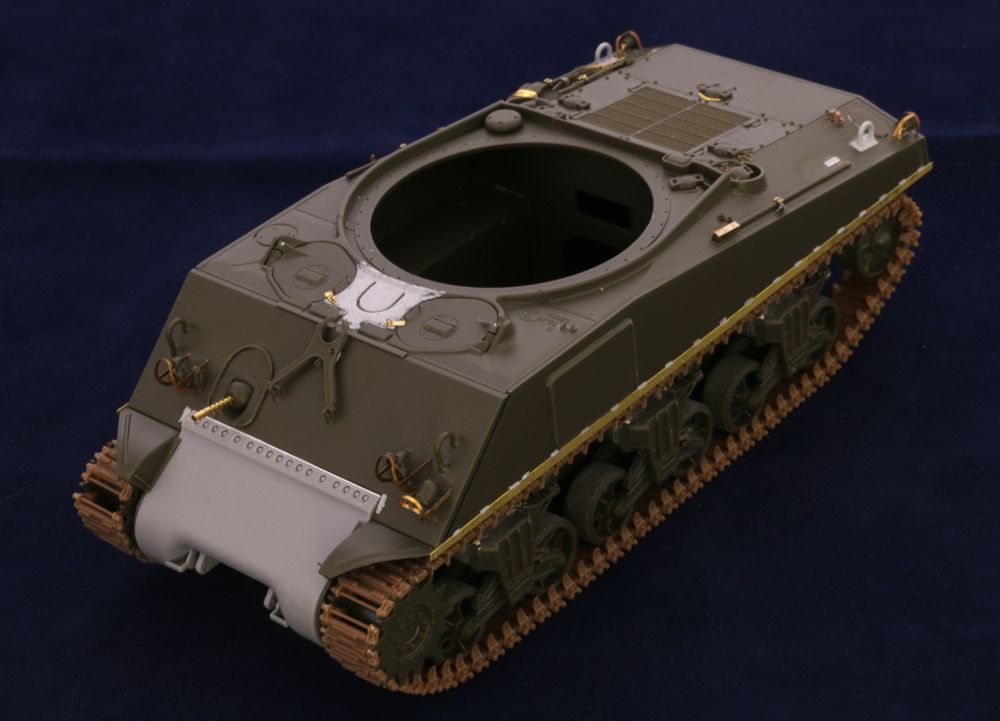
The original style of siren was carried over from the small hatch variant, but moved to the glacis plate from the right front fender. Wiring conduit is added using lead wire. .30 cal brass MG barrel is from a Polish company called Master and probably the best on the market IMHO. I've also started on the PE light guards - using Tasca OE items. Their small hatch kits included a former for the guards but have omitted them from the M4A3 76 kit for some reason. Worth hanging onto these...
Once the other light guard is in place, I'll make up the 3 part siren guard and fit that too.
Before adding the headlight plug holders, thought I'd do the hatches first. The missing hinge pin detail is added by cutting a slot first with a saw and then adding the pin part made from scrap styrene. Handle is made using 5amp fuse wire and the kit's periscope cover is used as PE ones don't give any extra detail when they are set closed like this...
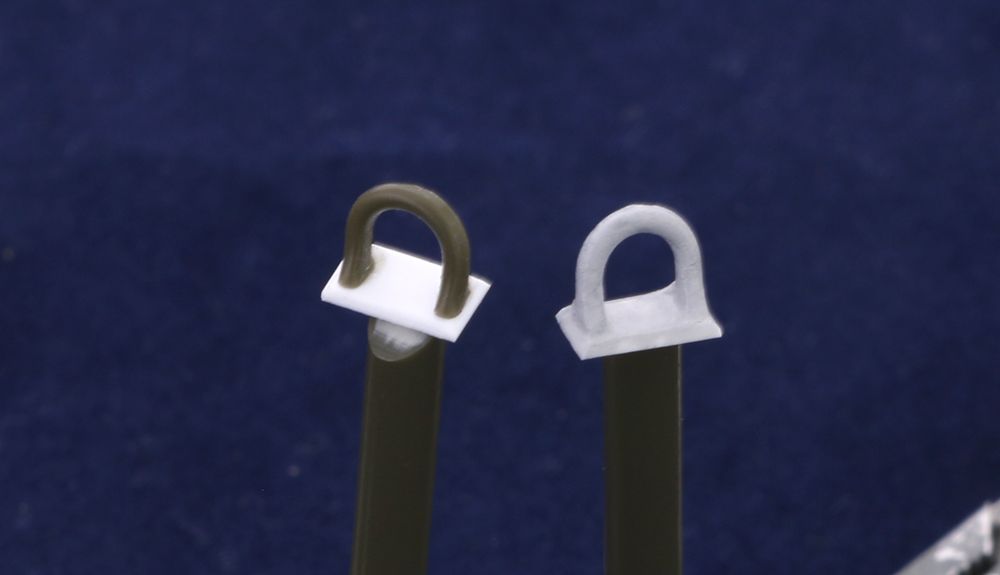
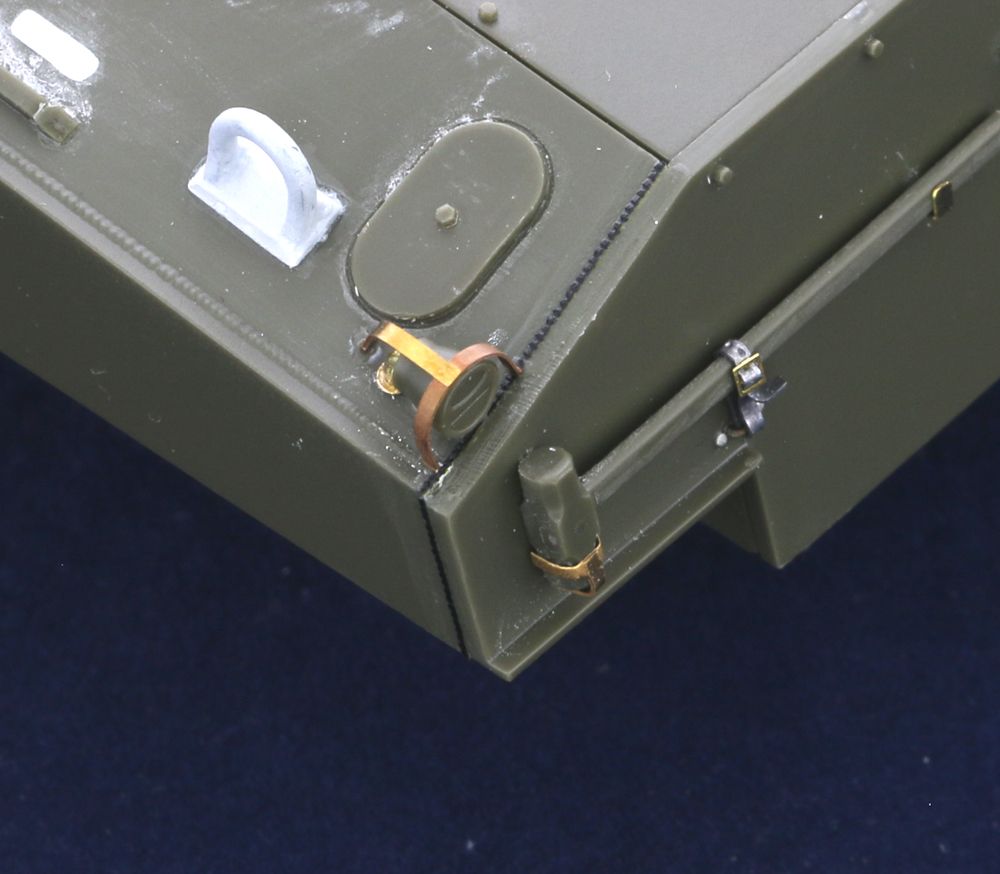
FTA used a padded lifting eye on the rear for reasons unknown which even differed from the type used on small hatch M4A2s. The SoS book has some excellent reference shots of this and I modified kit's lifting eye and mated it to a piece of scrap styrene. A little filler and carving later....
The one on the right has a coating of Mr Surfacer in prior to mounting on the hull. And both in place....
Light guards are from the Tasca kit - everything else is scrounged from my PE spares box and from a variety of manufacturers.
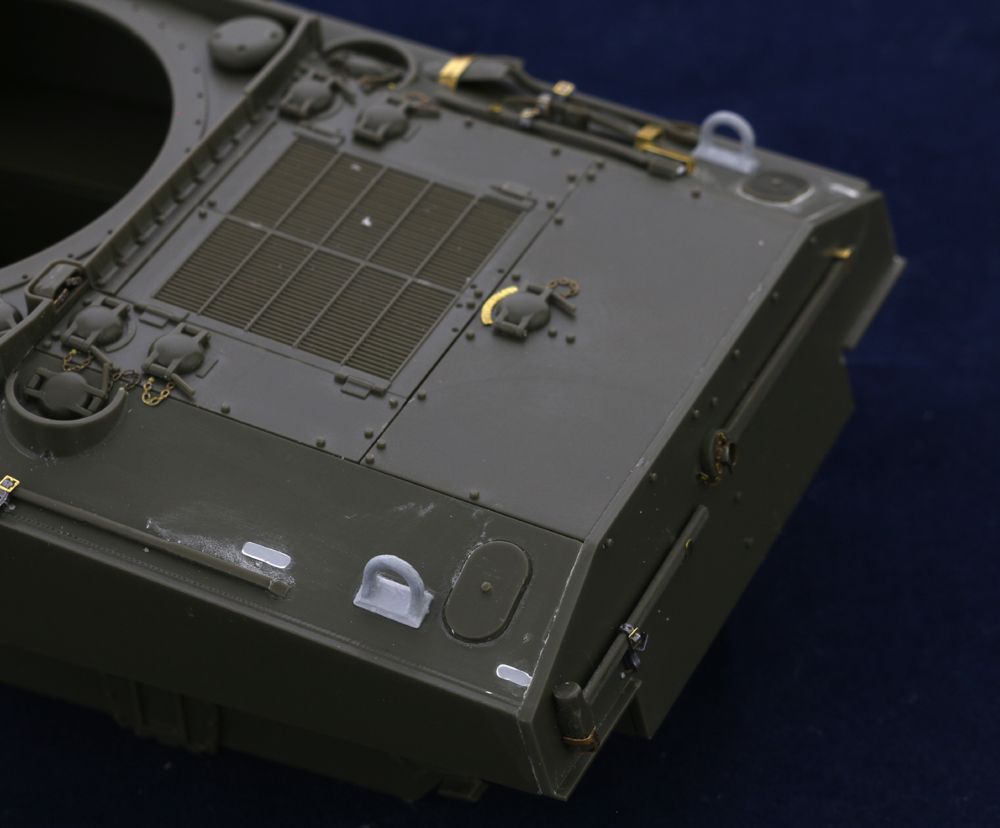
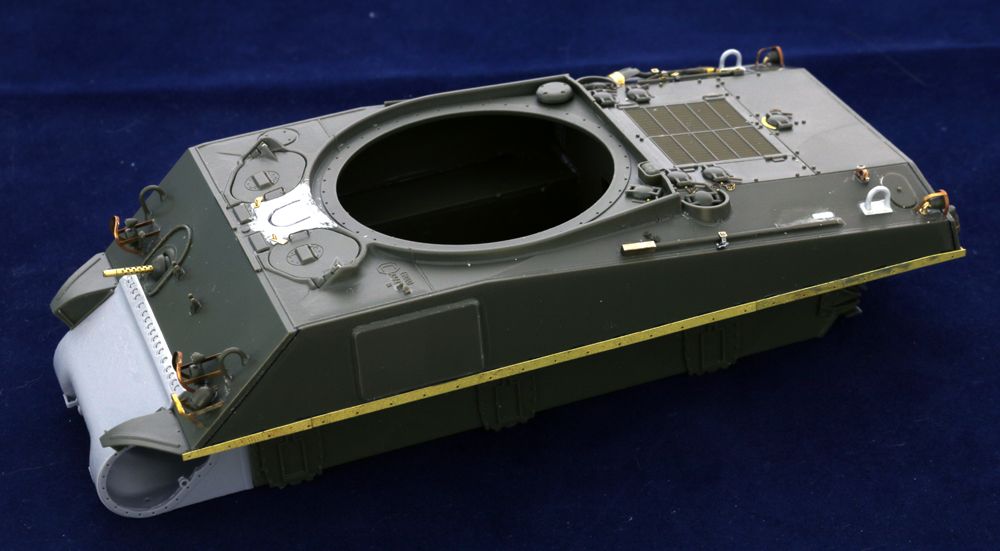
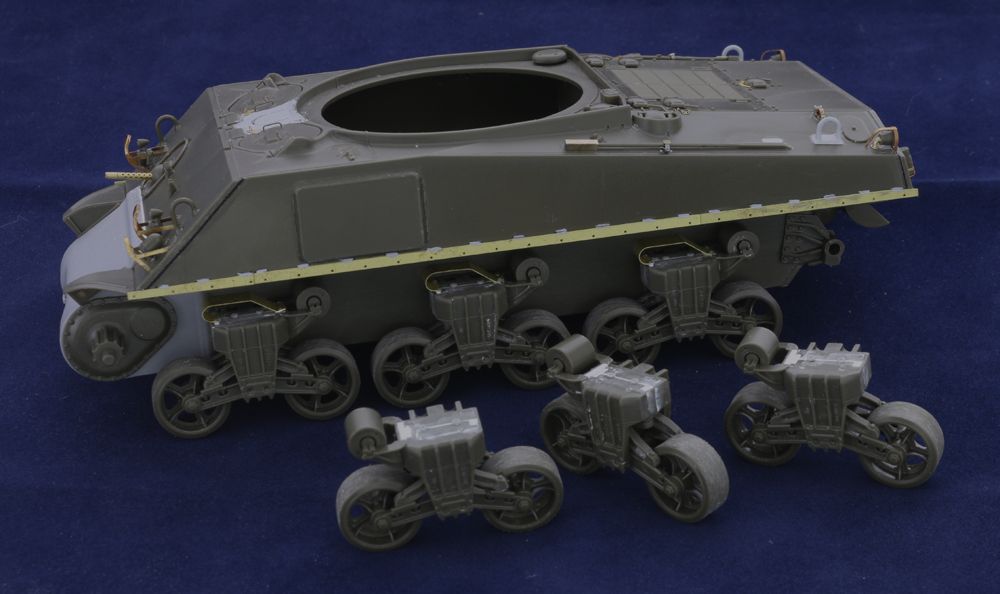
After adding a tow cable bracket to the rear upper hull, attention turned to the sides. PE sand shield mounting brackets are added along with welds - the welds are also added to the side for the glacis plate. And then the applique armour plate is added which makes this instantly recognisable as a 'Dry Stowage' vehicle....
I'm wandering if you use a small jig, when soldering up those small guards? Also, it looks like you completed the track links. Do you just slide them off to paint later?